Purchase Savings Plans
Purchase Savings Plan.
In this step we will try to purchase a custom Savings Plan without going through Recommendations. You will not be able to cancel the Savings Plan after purchase if it has not expired. Before purchaseing Savings Plan, you and your team should calculate carefully so that you can make good use of the Savings Plan you will purchase.
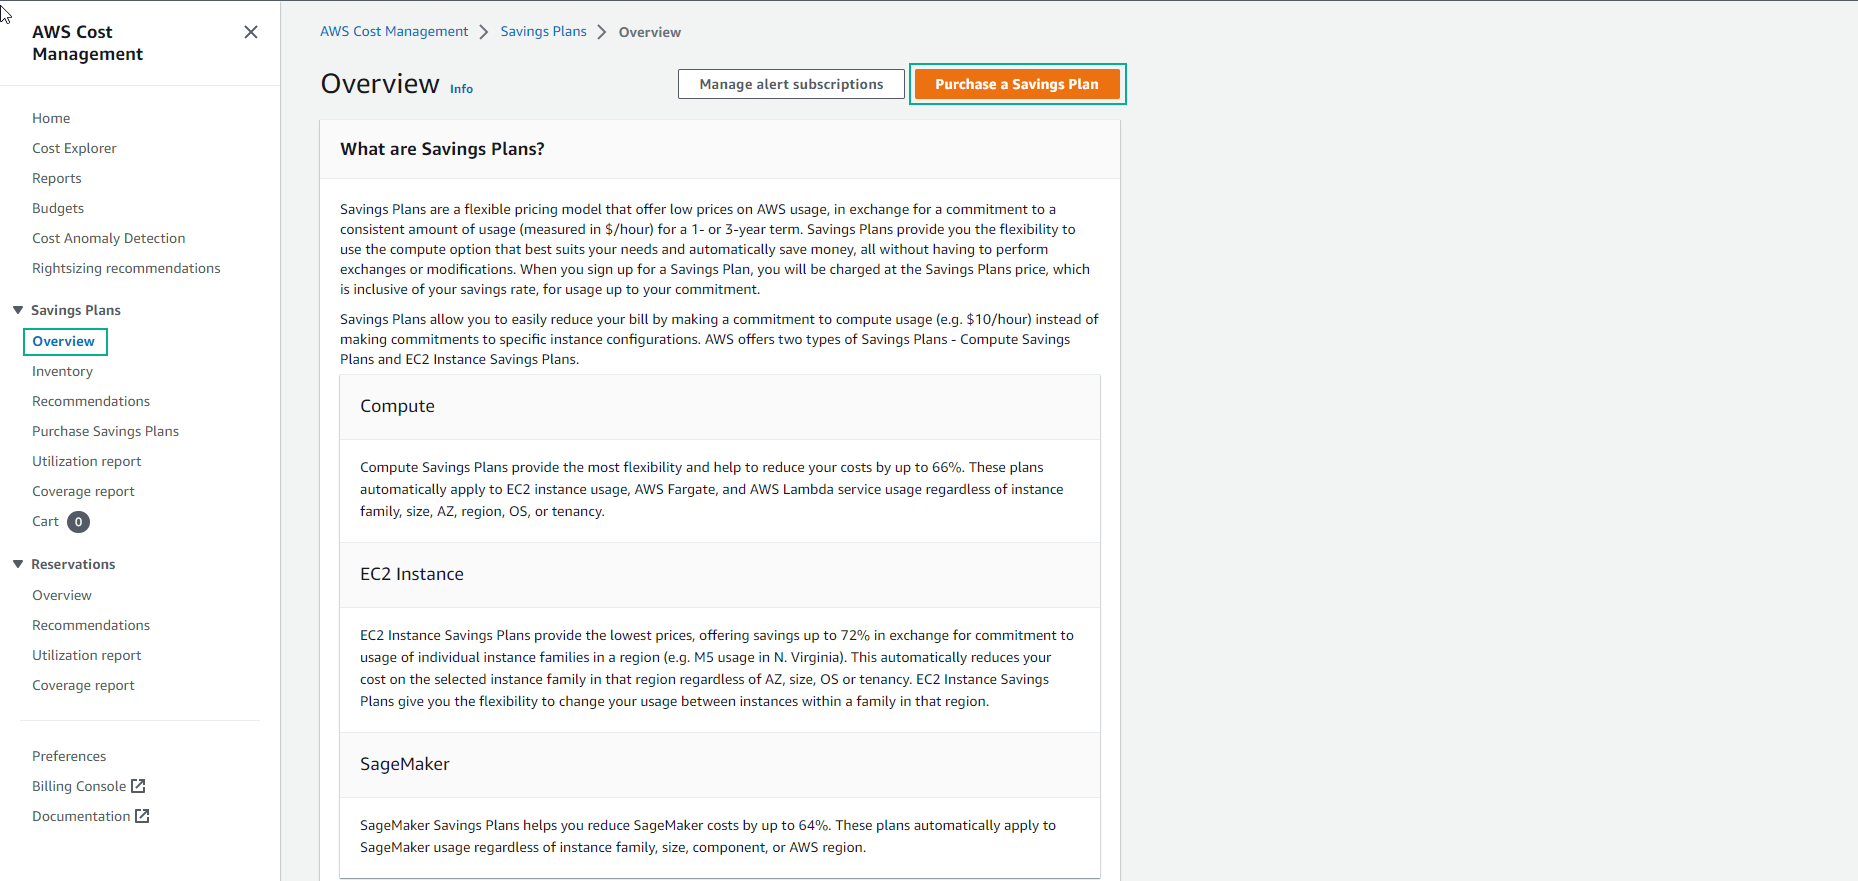
- At the Recommendations page in step 2, click the Overview button on the left menu to switch to the overview page, showing the information of the Savings Plan packages you have purchased.

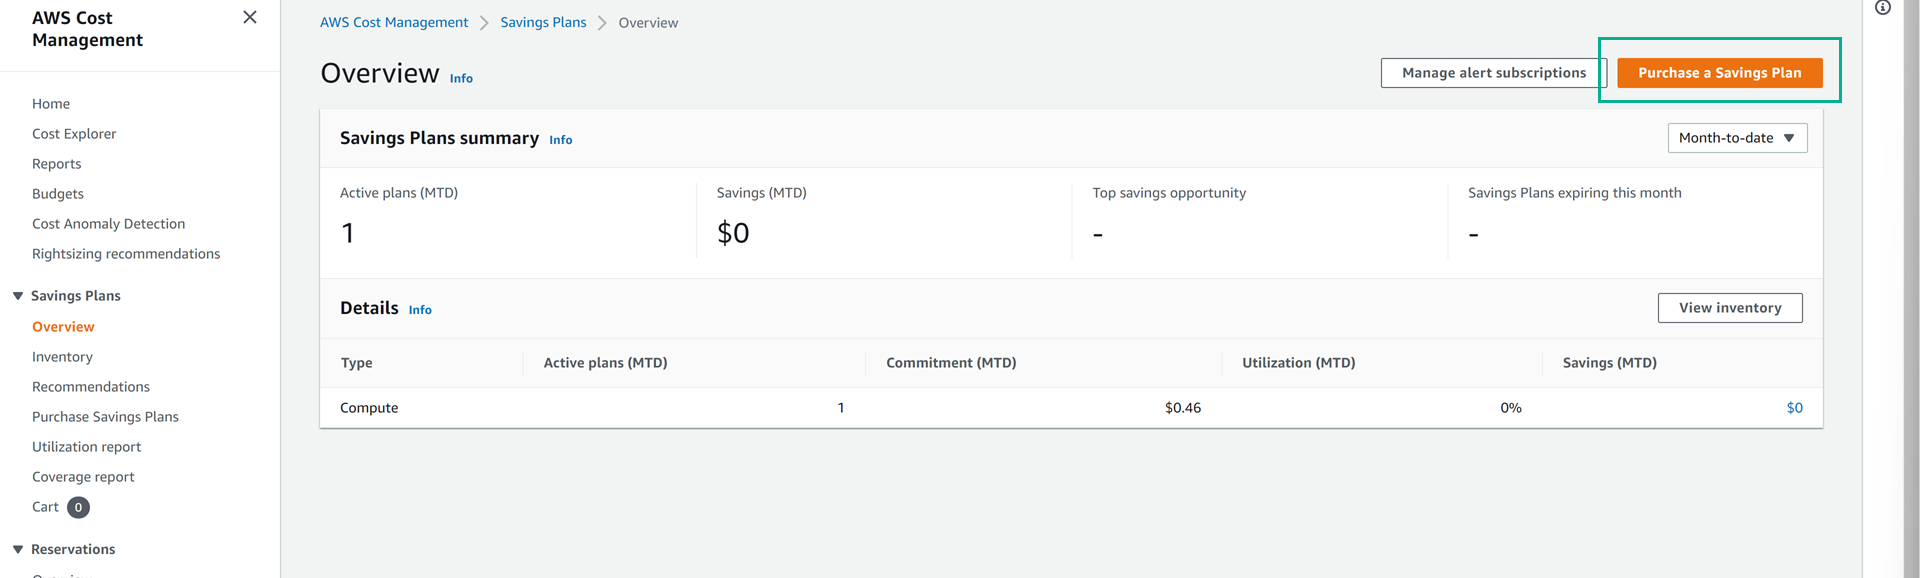
- Click Purchase a Savings Plan.
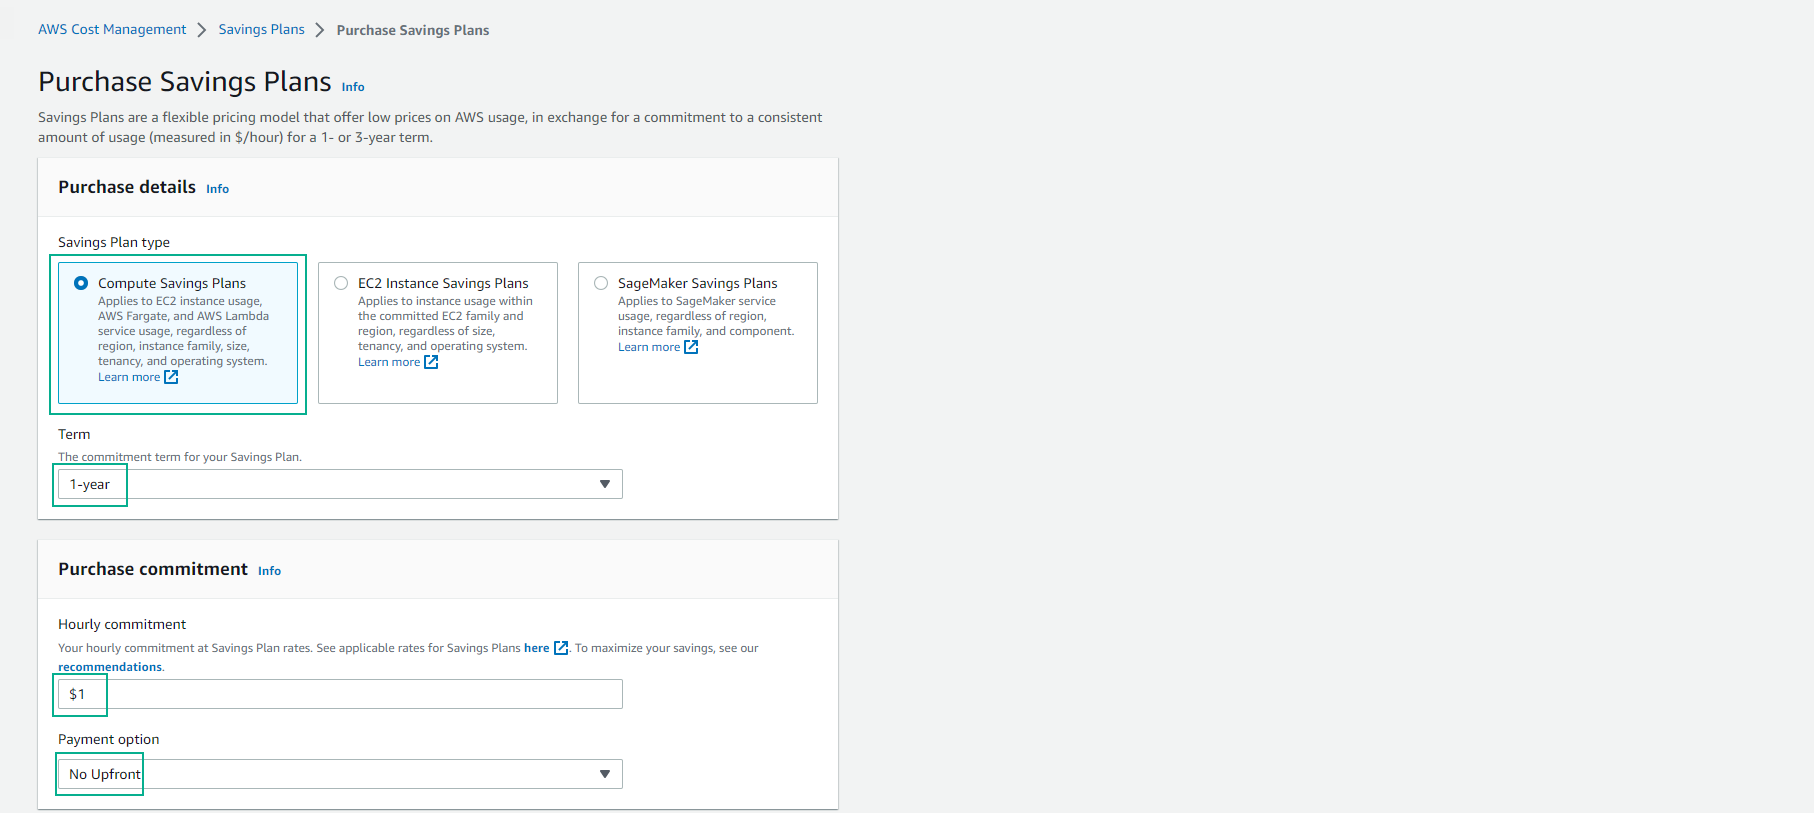
- Here we can choose the option Savings Plan type, Payment Option as I introduced in step 1.
- Click Compute Savings Plans.
- Click to select 1-Year.
- In the Hourly commitment box, enter 1$.
- Click on No Upfront.
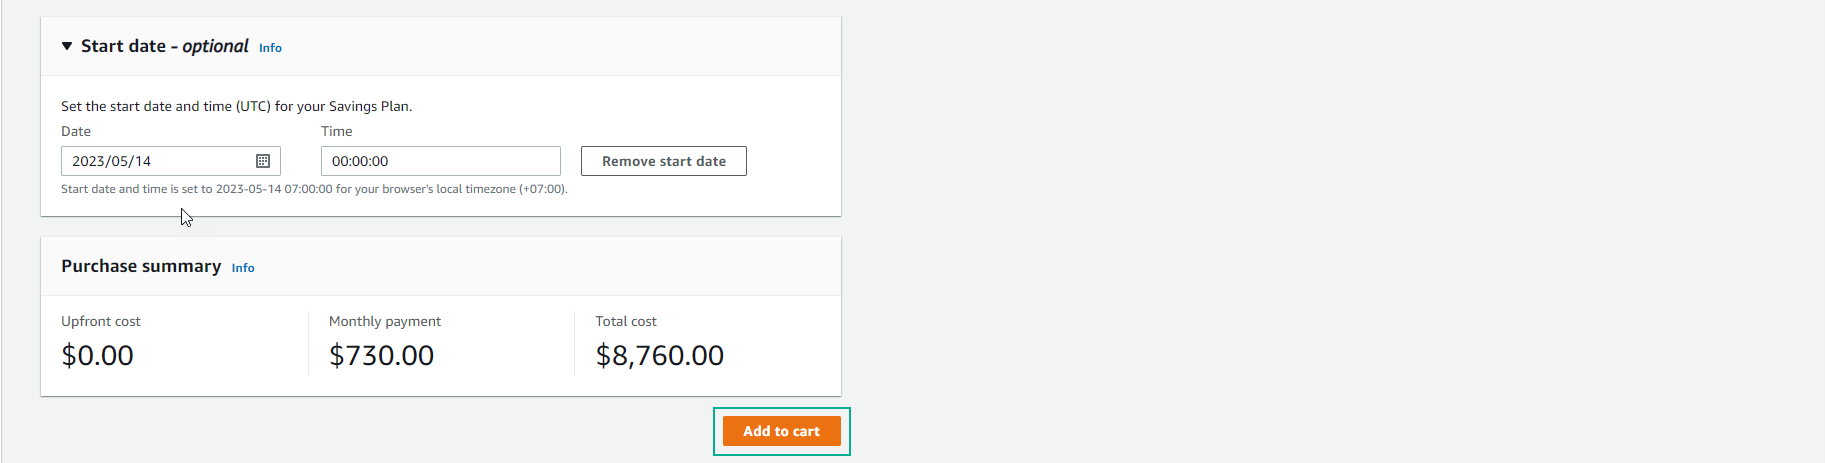
- In the Start date section, here we can choose when we start our Savings Plan. Since this article is for guidance only, we will set a Start date quite far away from the present.
- Click on the item Start date - optional.
- Enter date 2024/01/01 and time 12:00:00
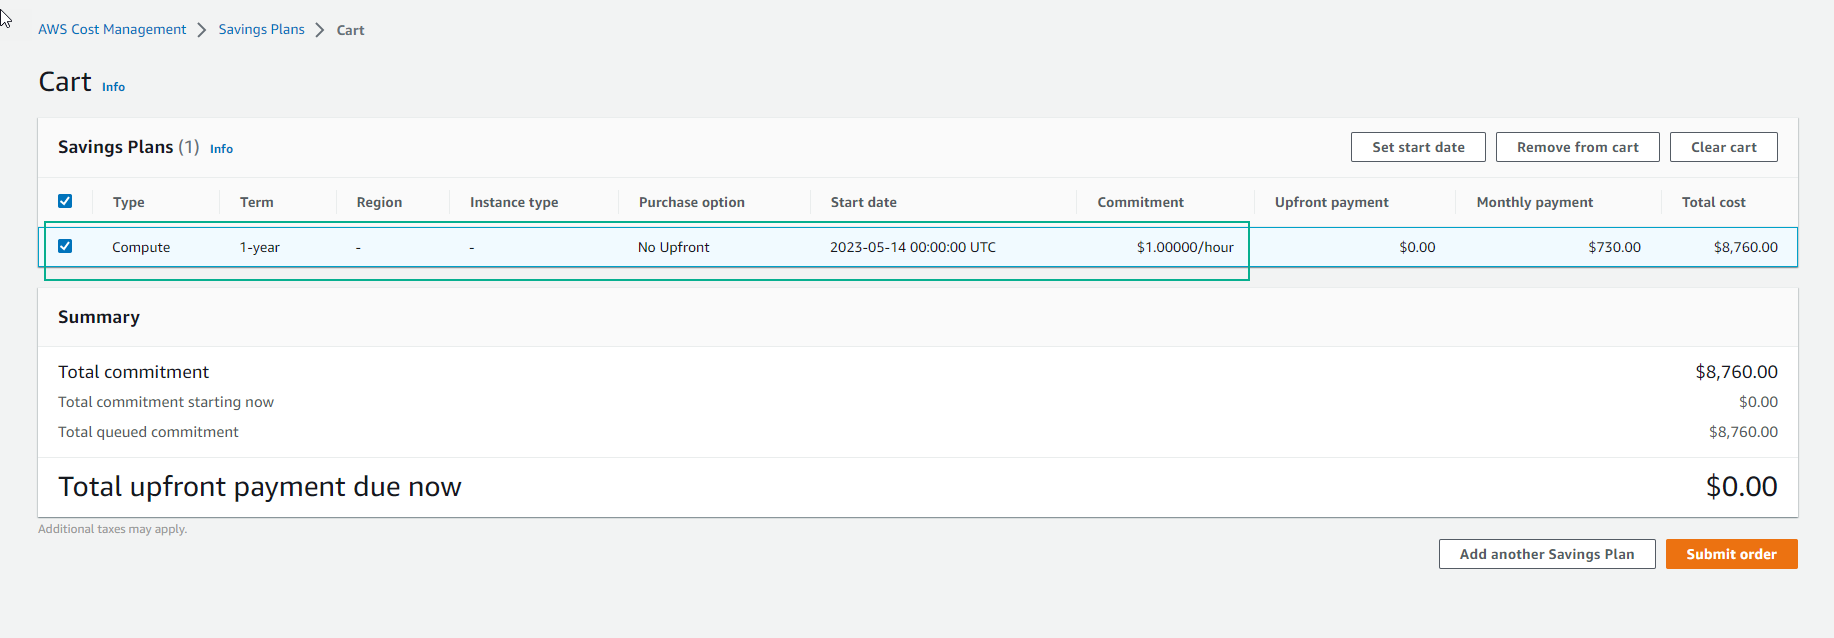
- Click Add to cart.
- At this step we can Submit order if we make a real purchase or Remove form cart to be able to purchase another package.
- Click Submit order to try to make a purchase.
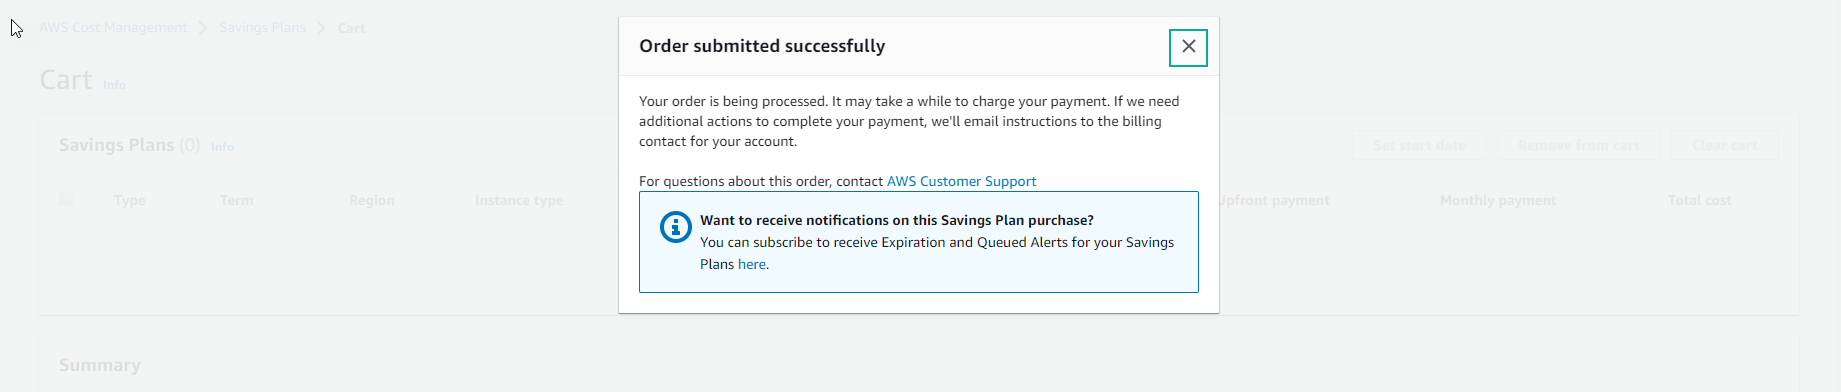
- Your order has been submitted successfully.
- Click X to close the notification.
- Next, since this is a tutorial, we will delete the Savings Plan we just submitted.
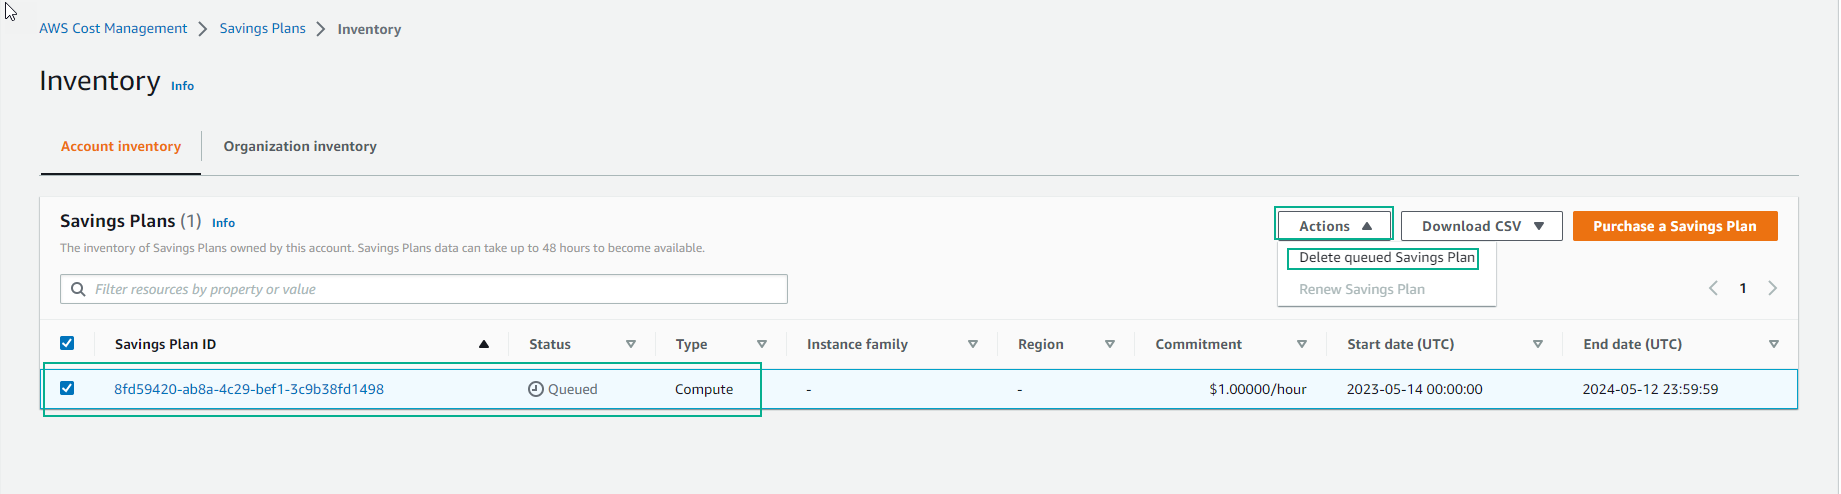
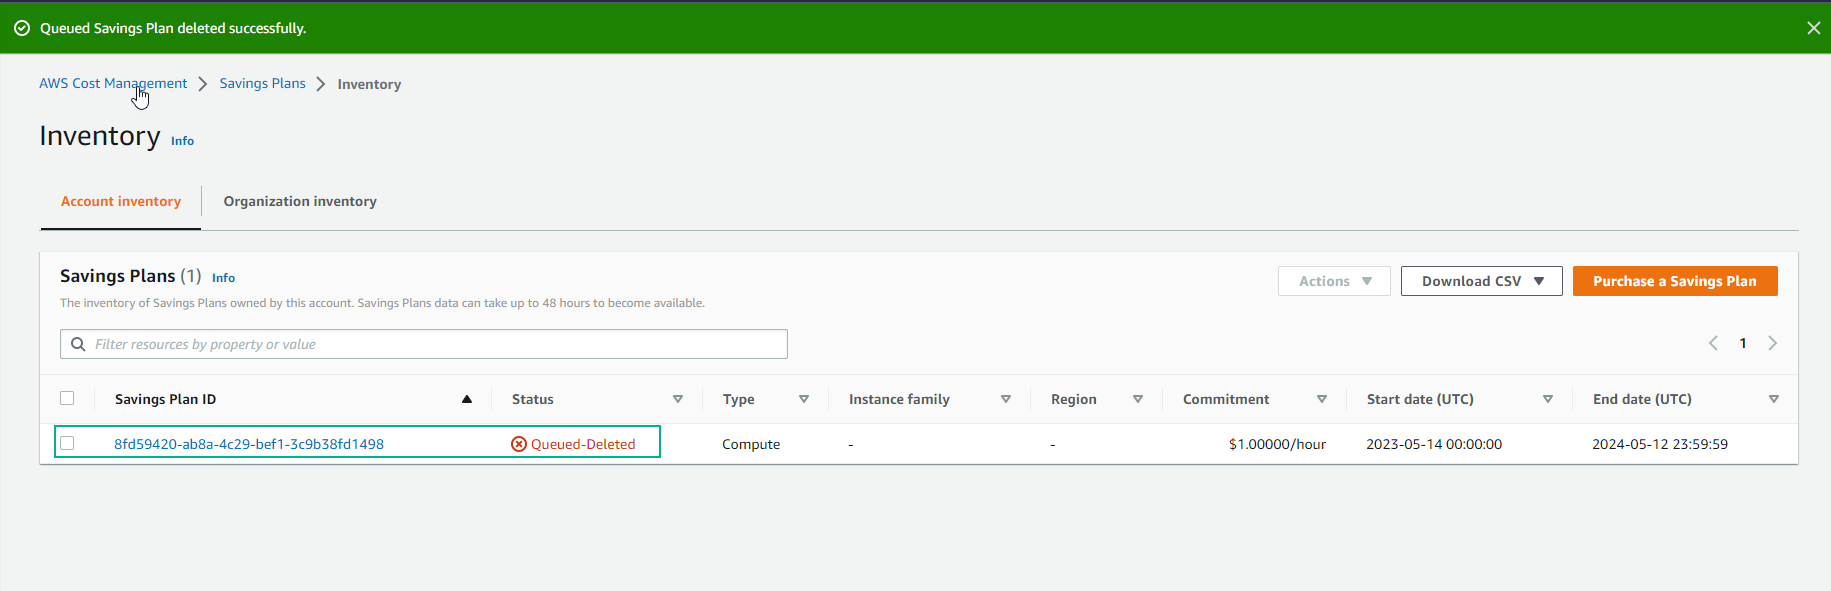
- Click Inventory to see the Savings Plan we just bought.
- Click on the Savings Plan package that is in Queued status.
- Click Actions -> Delete queued Savings Plan.

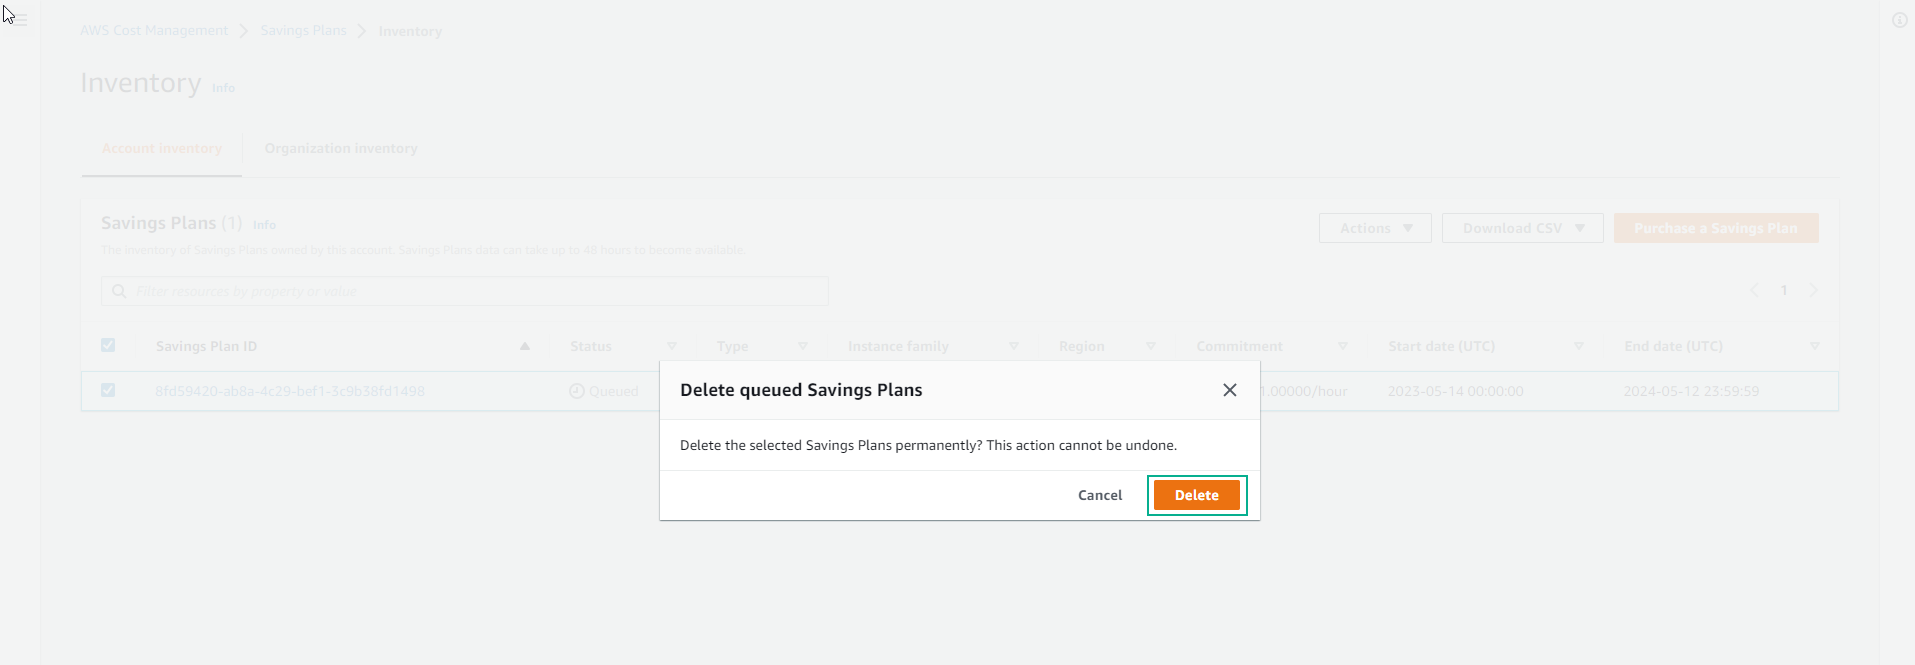
- Click Delete to confirm.
So you have completed the steps to purchase a trial plan of Savings Plan. You can continue reading the Reserved Instance and Reserved DB Instances references in Sections 4 and 5.